Creating new users
Before proceeding, please make sure you have read our guide on Signed Payloads.
Note: Customers who have access to Apto's Core API are required to pass us the user's IP address in the header when a new user is created. Please refer to the API documentation for more information. All Mobile API users can follow the guide as written below.
Learn how you can create users (and log in with existing ones) using our Mobile API.
There are 3 steps required to create a new user using the Mobile API:
- Request the Mobile API to send a verification code to a new user via SMS 📱
- Send back the verification code the user received to the Mobile API
- Create a verified user

Before a new user is created for the first time, Apto needs to verify their identity (and obtain their consent) through a process of credentials verification.
There are two types of credentials: primary and secondary.
When creating new users, only the primary credential is needed.
You can also create users through our Mobile SDKs, Demo App or the Core API.
Send a verification code to a new user
Begin the verification process by sending a POST request to the /verifications/start endpoint with the new user phone number:
When testing your program in Sandbox, you'll only be able to create users with U.S. phone numbers. If you're a customer of one of our Blue or Orange Programs and would like to use non-U.S. phone numbers to test cardholder operations, contact us at support@aptopayments.com
- cURL
- JSON
curl --location --request POST 'https://api.sbx.aptopayments.com/v1/verifications/start' \
--header 'Api-Key: Bearer {MOBILE_API_KEY}' \
--header 'Content-Type: application/json' \
--data-raw '{
   "datapoint": {
     "data_type": "phone",
     "country_code": "1",
     "phone_number": "2105555555"
   },
   "datapoint_type": "phone"
}'
{
    "datapoint": {
        "data_type": "phone",
        "country_code": "1",
        "phone_number": "2105555555"
    },
    "datapoint_type": "phone"
}
Remember, you can get the API Key for the Mobile API in the Developer Portal.
When you submit this request, we send a 6 digit one-time password (OTP) via SMS to the user’s phone number expiring after 15 minutes.
We don't verify OTP codes in the sandbox environment, so for calls against sandbox enter six zeroes '000000' for a successful pass.
If successful, the response will be a verification object containing the current verification ID (verification_id) and its status, which should be “pending” (as the API has not validated the OTP code yet):
{
    "type": "verification",
    "verification_id": "entity_27288bc122db1339",
    "status": "pending"
}
Finish the new user verification
Once the user receives the OTP code, you can send a POST request with it to the the /verifications/{verification_id}/finish endpoint to complete the verification. You'll also need to send the verification process ID received in Step 1.
The OTP received by the user will include a dash (e.g. 111-222); however, when sending the request send the numbers without dash (e.g. 111222).
- cURL
- JSON
{
    "secret": "000000"
}
curl --location --request POST 'https://api.sbx.aptopayments.com/v1/verifications/{VERIFICATION_ID}/finish' \
--header 'Api-Key: Bearer {MOBILE_API_KEY}' \
--header 'Content-Type: application/json' \
--data-raw '{
   "secret": "000000"
}'
The response will include the status of the current verification process, which can be one of the following four values: pending, passed, failed, expired.
{
    "type": "verification",
    "verification_id": "entity_27288bc122db1339",
    "status": "passed"
}
Create the user in your card program
We’re almost there! Once the user’s verification status is passed, before sending the final request to the API, collect all of the additional user data required to issue a card or login:
- Secondary credential (Date of birth)
- Home address
- Social Security number
Once you've gathered all of the requirements including the current verification process ID (which you can find in the response payloads of Step 1 or Step 2), send a final POST request to the /user endpoint. You will need to sign the payload as explained in our Signed Payloads guide.
curl --location --request POST 'https://api.sbx.aptopayments.com/v1/user' \
--header 'Api-Key: Bearer {MOBILE_API_KEY}' \
--header 'Content-Type: application/jwt' \
--data-raw 'eyJhbGciOiJIUzI1NiIsInR5cCI6IkpXVCJ9.eyJzdWIiOiIxMjM0NTY3ODkwIiwibmFtZSI6IkpvaG4gRG9lIiwiaWF0IjoxNTE2MjM5MDIyfQ.SflKxwRJSMeKKF2QT4fwpMeJf36POk6yJV_adQssw5c'
The Mobile API will validate the primary credential, and then create the user. If successful, the response will contain the user_id and user_token (Session Token) for the new user:
{
    "type": "user",
    "user_id": "crdhldr_b04f29605a018f7d72a2",
    "user_token": "{SESSION_TOKEN}",
    "user_data": {
        "type": "list",
        "data": [
            {
                "type": "phone",
                "country_code": "1",
                "phone_number": "2015555555"
            }
        ],
        "page": 0,
        "rows": 5,
        "has_more": true,
        "total_rows": 10
    }
}
The default TTL (time to live) for the session token is 31,536,000 seconds (365 days). However, this can be configured based on each customer needs by contacting customer support.
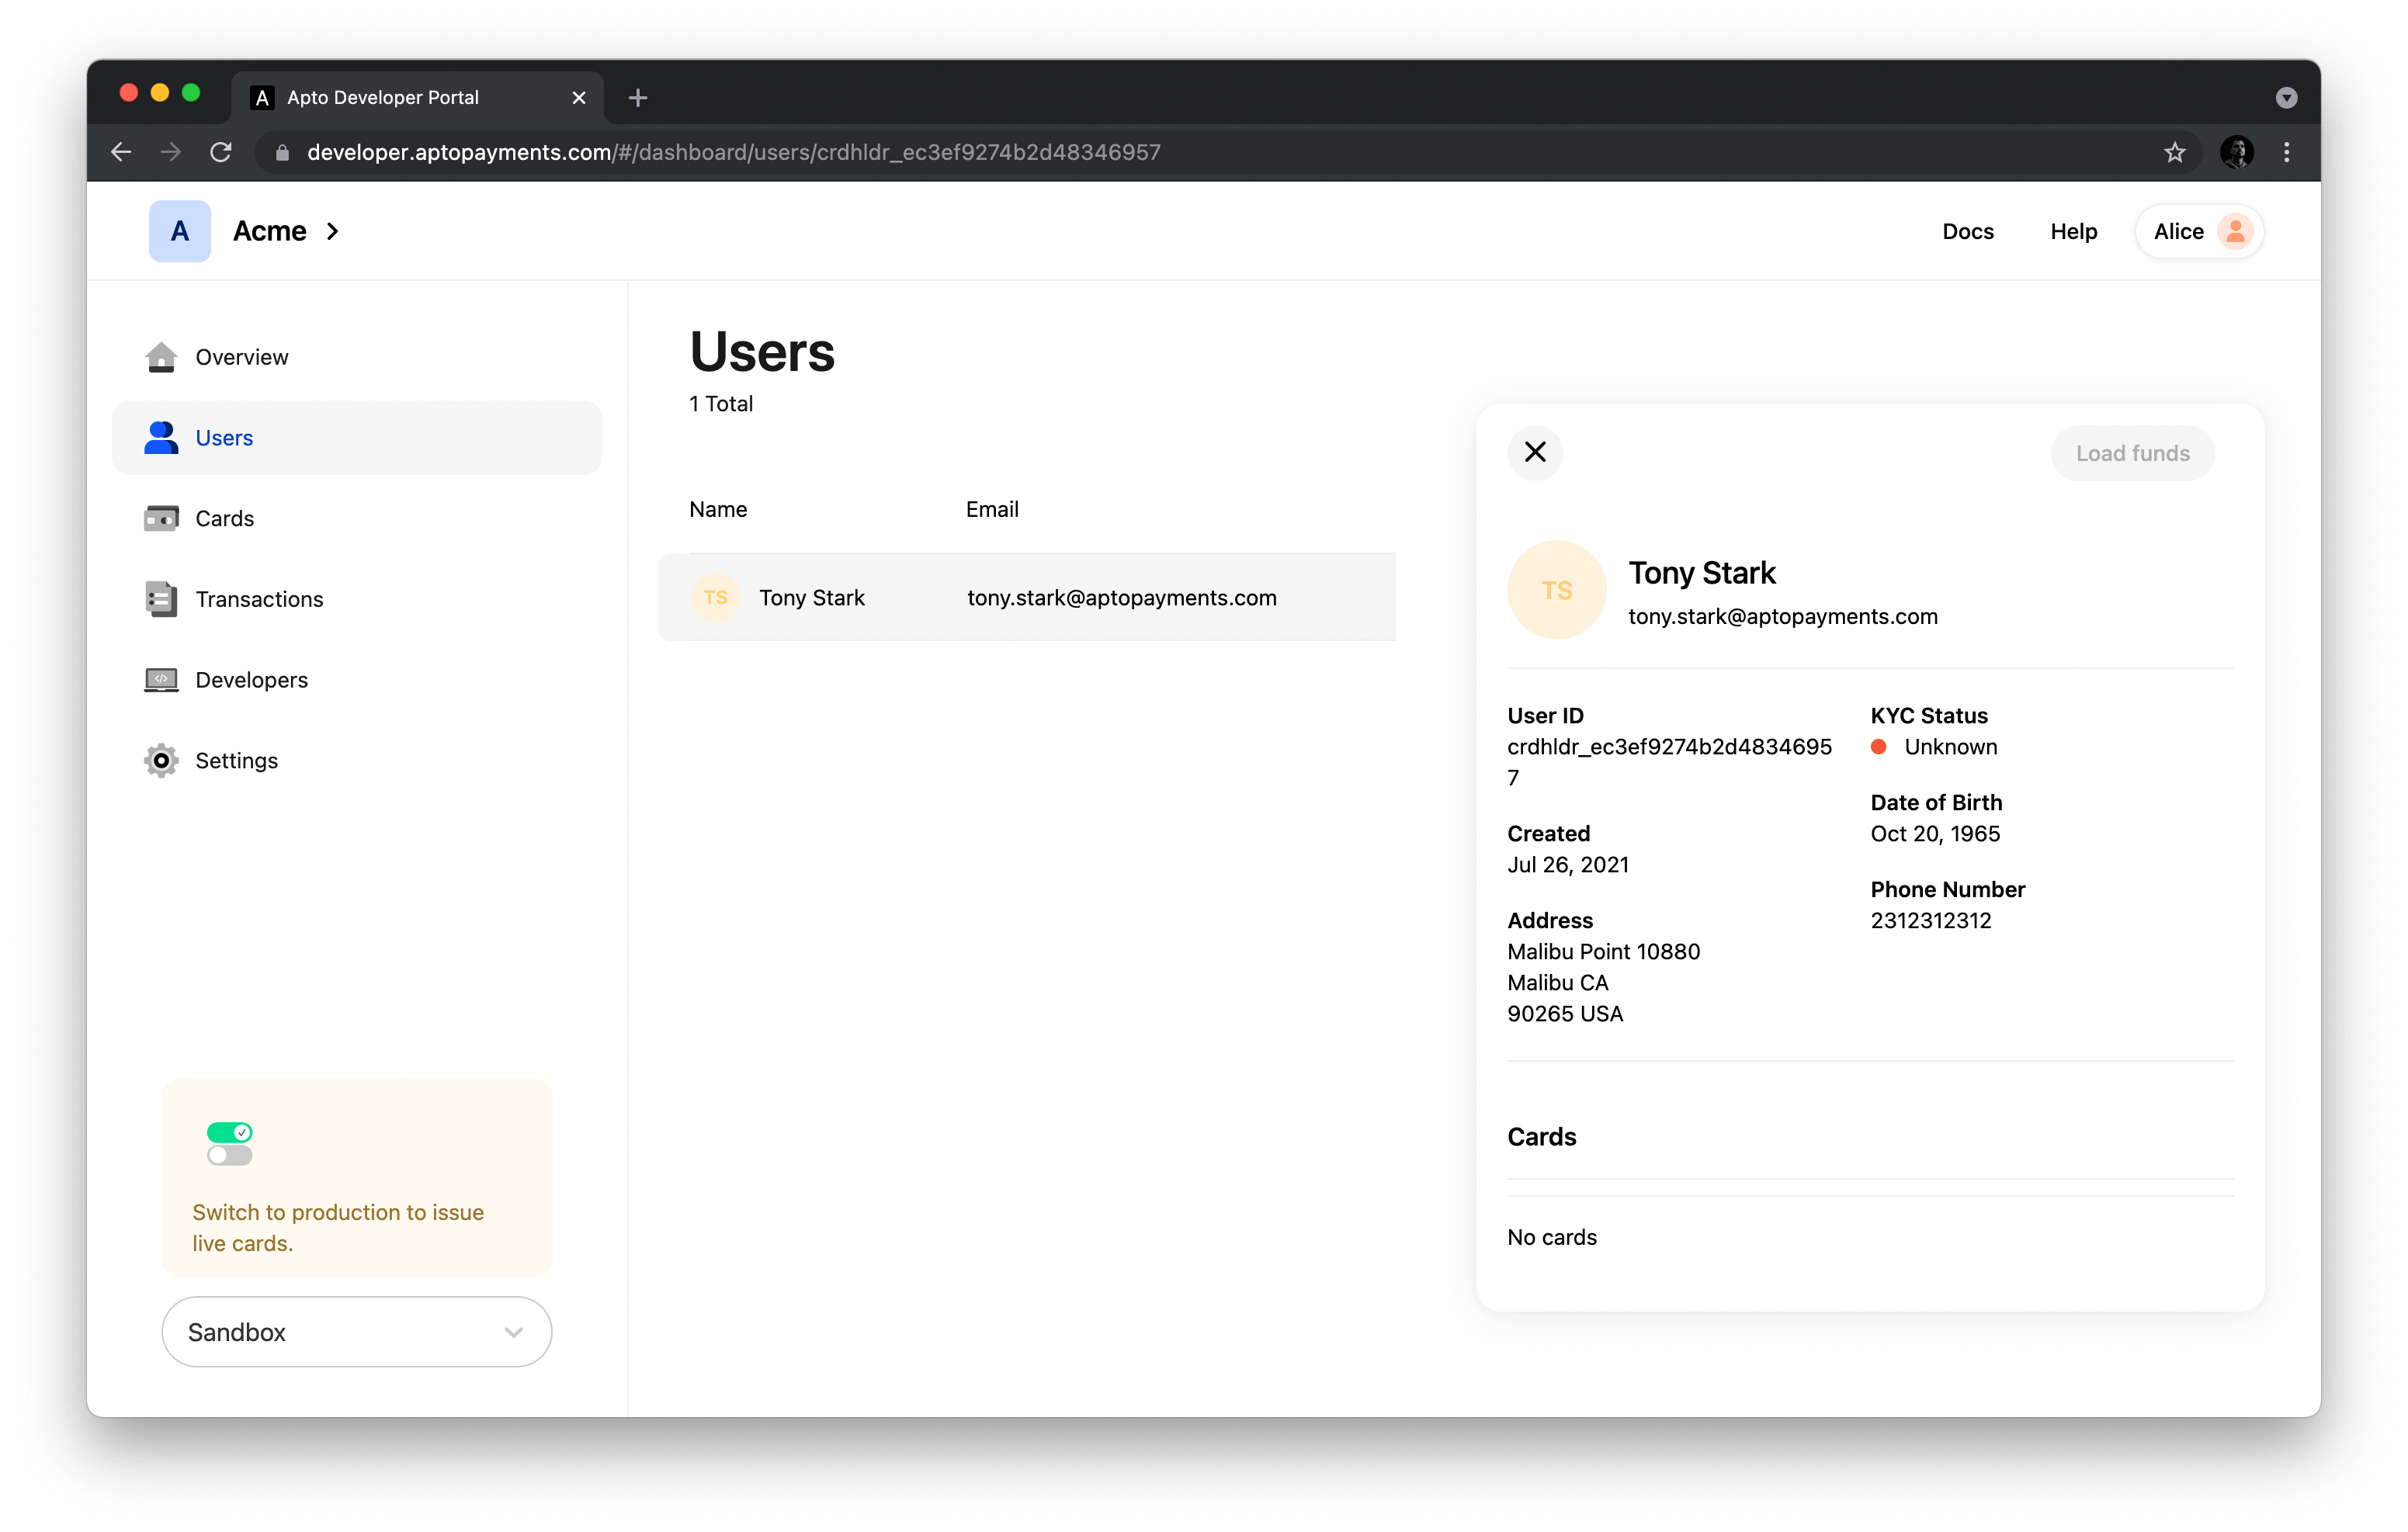
At this point, if you log in to your developer portal account and click on the "Users" tab you should see the newly created user listed: